


Riding the Home Horse
Sit Balance Exercise Relax
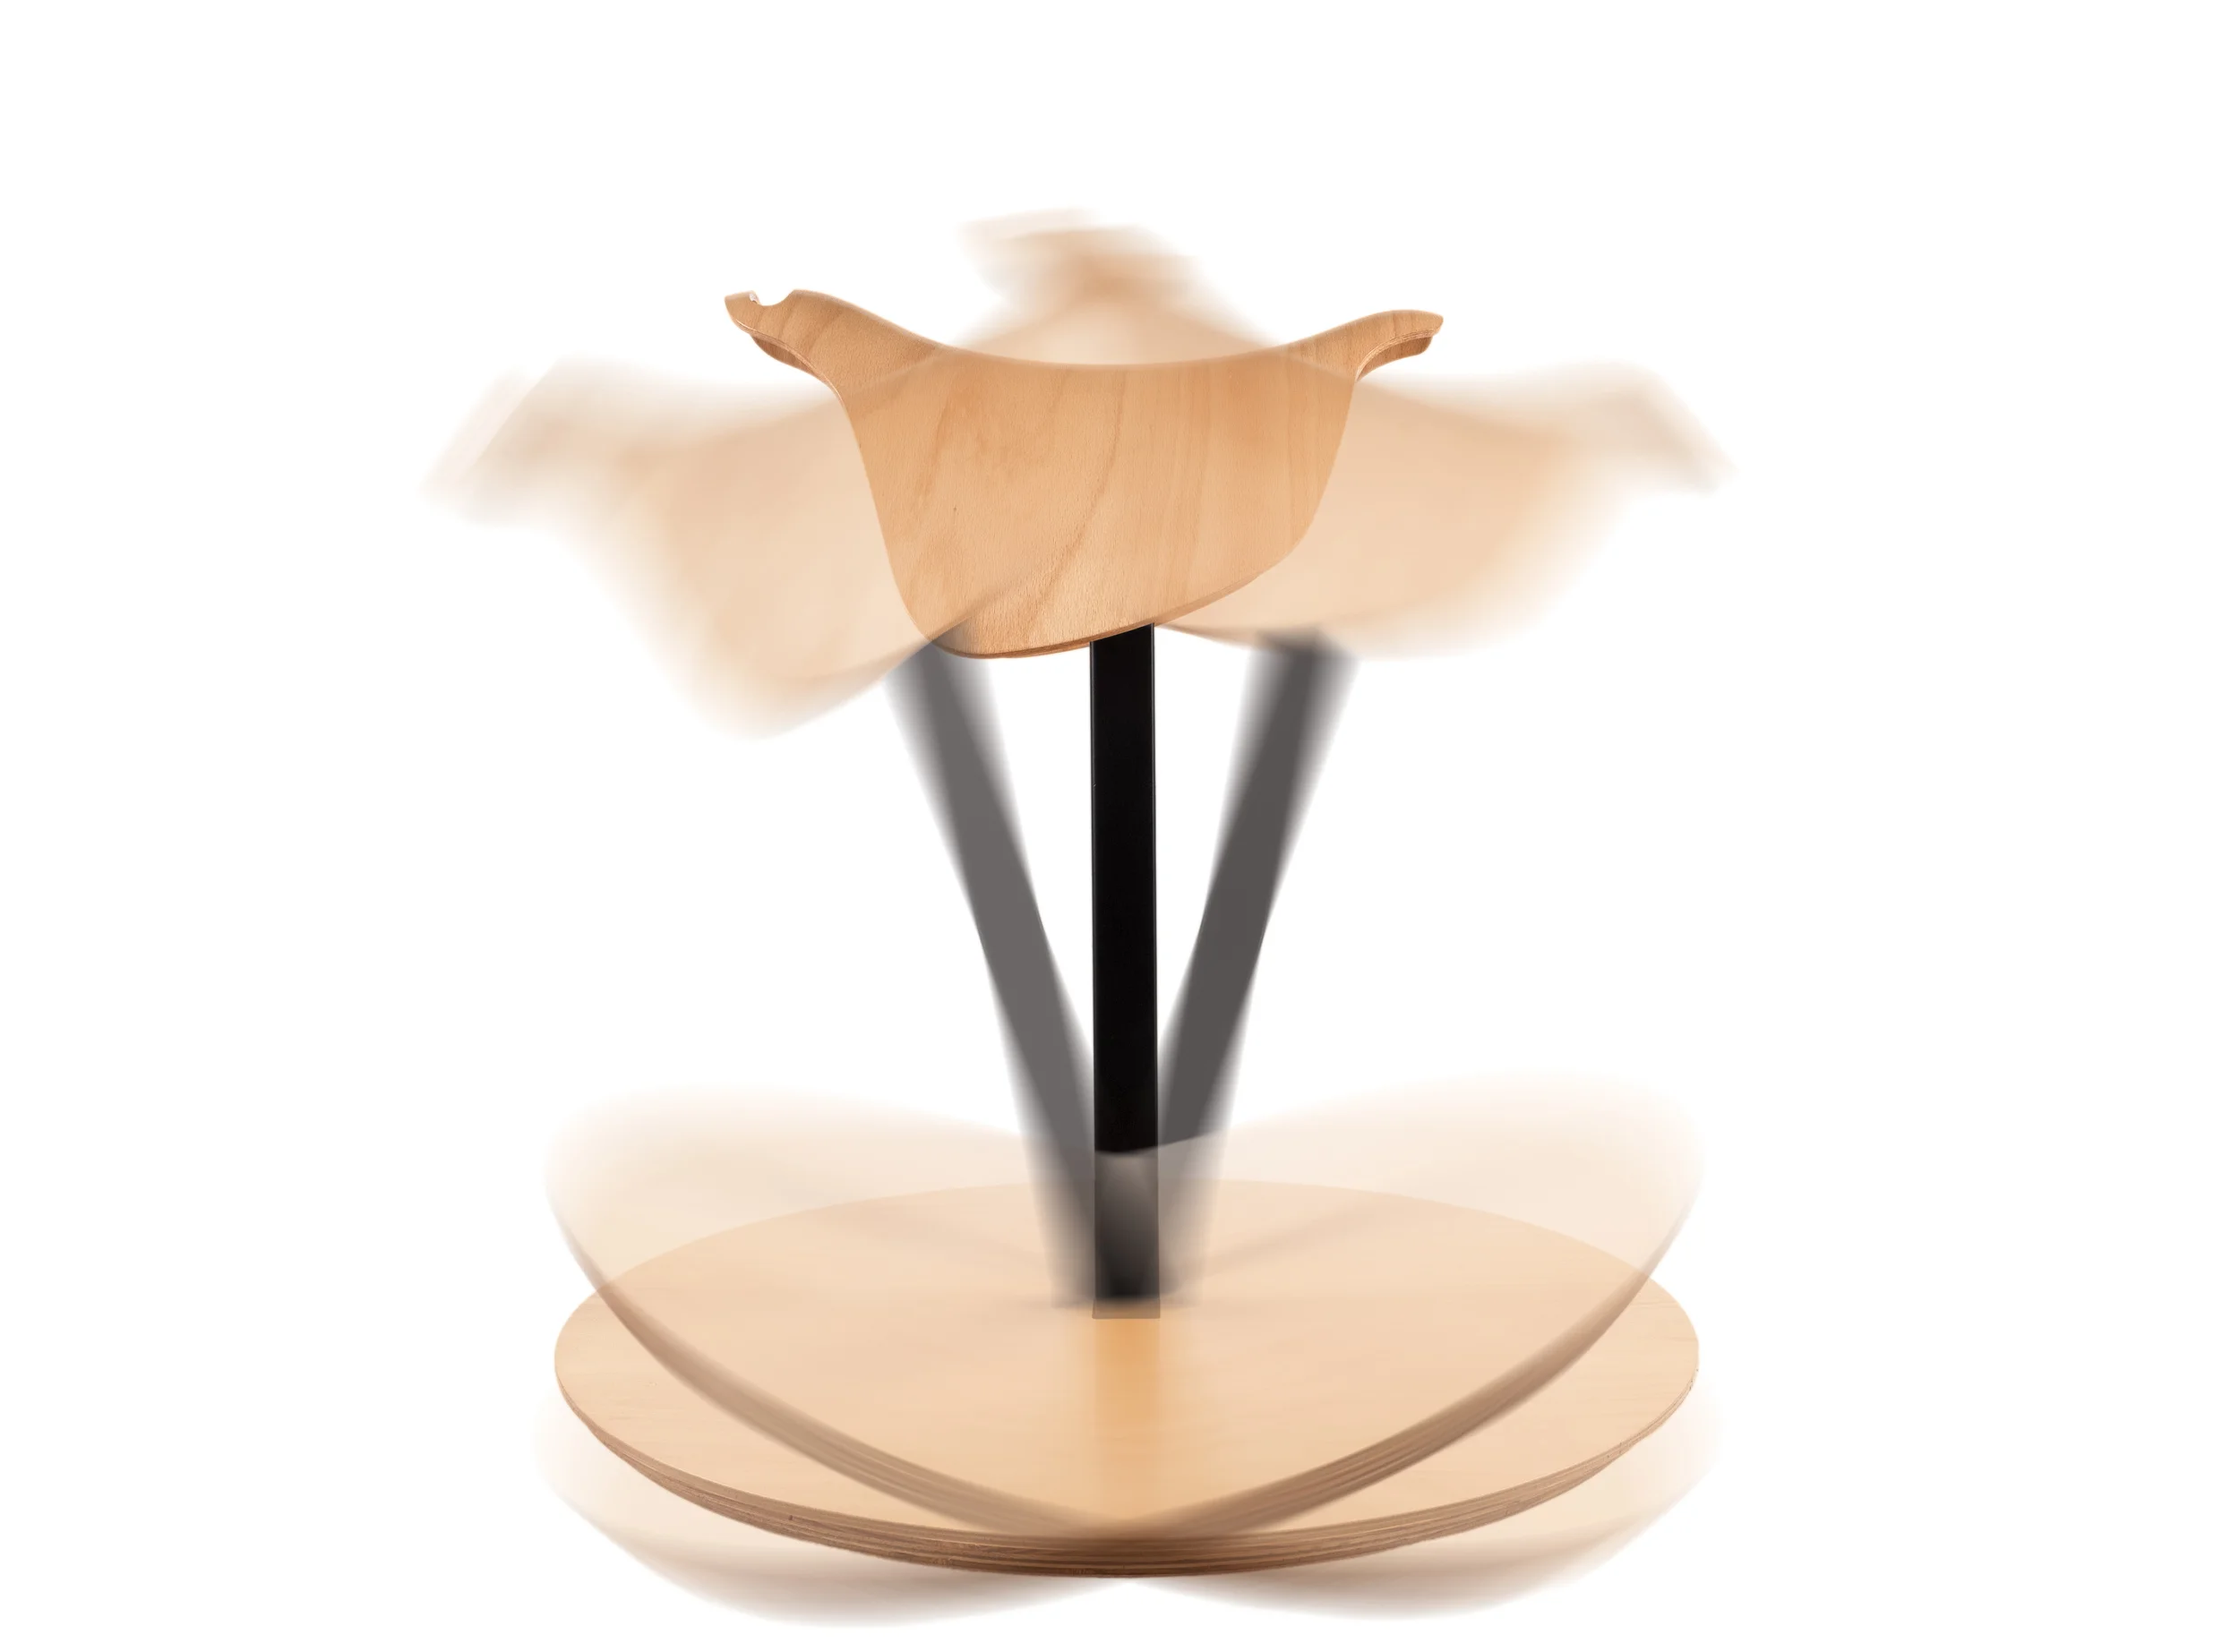
The Home Horse is a game-changing device that revolutionizes the way we can exercise.
A Fitness tool that combines patterned co-contractions of core muscles, pelvic floor, abdominals and obliques, with balancing and stretching, especially the hip abductors that directly translate to enhanced balance and core strength as well as posture.
The Home Horse has far reaching applications beyond the equestrian community and is a fun and challenging new way to effectively simulate some of the neuromuscular benefits of equine movement and achieve greater flexibility, core strength and balance.
Riding the Home Horse has many of the same benefits as horseback riding including:
Physical
Improved Core Strength
Improved Balance
Improved Posture
Improved Coordination
Increased Range of Motion
Low-level Cardiovascular Conditioning
Increased Endurance
Psychological
Stress reduction
Improved Self-Discipline
Improved Self-Confidence
Increased Self-Esteem and Self-Image
The Dynamic Platform of the Home Horse is used by,
Equestrians in Dressage, Reiners, Ropers, Cutters, Jockeys, Equine Therapy Practitioners, Hunter/Jumpers, Polo, Saddlebreds, Barrel Racers, 3 Day Eventer’s, Trail riders, Mounted Shooters, Distance riders, and Racing Trainers, also
Golfers and Race Car Drivers, Pilates, Dance and Movement Studios, Sensory Gyms, PT, OT and CP Therapy and people interested in better balance and range of motion, a smaller waist and amazing Core Strength.
This is the Best Seat for a Standing Desk,
It’s the Eames Chair of the 21st Century
MOUNTING, POSITIONING AND PRACTICE WITH YOUR HOME HORSE
1. To mount your Home Horse it is important to have someone stand in front of the HH to actively spot you and hold it and you steady as you attempt to mount. The rider should stand on the left edge of the platform with the left foot and hold it down to the floor, hold the hand cut out (the front of the HH) with your left hand and if needed also your right hand, lift your right leg over the HH back and sit in the deepest part of the saddle and find your balance, don’t worry it will not tip over! Hold the hands of your spotter and sit so that your seat bones are in contact with the saddle and you are sitting upright and balanced on both seat bones evenly. Avoid sitting on your tailbone since this will make balancing impossible. When you are mounted and comfortably balanced you can release your hands from your spotter for the moment.
2. Position your legs so that your thigh adductors, (inner thigh muscles) are in contact with the sides of the saddle, keep your feet straight and even on both sides, (toes ahead, not pointing out) on the platform or slightly above the platform if you are secure in your seat. Position your upper body above your hips by holding two imaginary weights in your hands out in front of you where your reins would be, palms up, elbows to your side, slowly rotate your hands and forearms back as far as
possible while keeping your elbows in at your side, you will notice how this lifts your rib cage and shoulders above your hips without hollowing your back, drop the imaginary weights and relax your lower arm and hands into your riding position, repeat this procedure over again whenever you lose your position on the HH.
A vertical line should run through your head, shoulders, hips and heels.
5. Once you are comfortable sitting in your balanced seat position, start your practice by gently rocking forward and back to test your balance, if you are unsure of your balance please have someone stand in front and hold your hands during this or any of the practices.
6. Come to a halt in the center and re-establish your position.
7. From a balanced position with a straight and symmetrical seat start to rock side to side using the hips to generate the movement, apply the right seat bone with the left leg limiting the movement then apply the left seat bone with the right leg limiting the movement, continue until you get the feel of the seat and leg coordination and can rock comfortably side to side all the way to the edge.
8. Come to a halt in the center and re-establish your position.
9. From a balanced position with a straight and symmetrical seat begin again with the side to side movement and slowly develop a circle generated by the hips and spiral out until you can ride the edge all the way around in a complete and smooth circle keeping the edge in contact with the floor at all times. This practice will expose any asymmetrical core weakness and allow you to start to correct it. For many riders it is difficult to rotate smoothly and steadily in both directions while keeping the edge in contact with the floor. Use the HH’s centripetal force to help you through your weak core quadrant by gaining a little velocity through your stronger quadrants to help you rotate through your weaker quadrant. Feel the patterned co-contractions of your core muscles as you do this practice 36 times around in both directions. This practice will strengthen your pelvic floor, abdominals and obliques, stretch your hip abductors and strengthen your thigh adductors while improving your balance and posture. When you can successfully ride the edge smoothly around in both directions while sitting up straight in the saddle you are ready to move on to the next practice.
9A. From a balanced position with a straight and symmetrical seat begin rocking forward and back with the rhythm of a horse’s walk and follow the motion with the front muscle group in your thigh (the quadriceps) alternating the activation the muscles from leg to leg each time your horse’s front leg comes to the back position.
This will lighten your seat and let your horse round up under you.
10. From a balanced position in the center of the saddle we will now start with a series of serpentines moving side to side and forward and back. Please picture a three dimensional S shape in your minds eye before attempting this practice. Sitting up straight, with your seat bones in even contact with the saddle, generate a side movement to the left and a little forward with the right seat bone while keeping your horse between your legs (both thigh adductors engaged) and limiting the sideways movement with your left leg, before you hit the outer edge of the base switch seat bones using the left seat bone to generate a movement to the right and as you do this drive your horse a little forward into the serpentine then switch to the right seat bone and repeat until you are making generous S shapes while you are going side to side you are also moving forward and then back on the hemisphere under the HH. The first few times you do this it is best to have someone hold a jumping bat or a two foot long rod unmoving in front of you so you can pull yourself a little through the difficult transitions in your serpentines. Remember to keep your upper body still and straight and do not collapse into your transitions. When your have mastered the serpentine you can move on to more challenging shapes.
11. From a balanced position in the center of the saddle with your thigh adductors in close contact with the sides of the HH we will begin a series of figure 8’s that will strengthen your diagonal core muscles. Please imagine a three dimensional 8 in your minds eye before you begin this practice. Sitting up straight, with your seat bones in even contact with the saddle, generate a forward movement with the left seat bone by pushing forward and to the right into your right leg that will limit the motion and give you a second to transition onto your right seat bone to bring you around the top of your 8 and into your left leg and then switch to your left seat bone and cross diagonally through the center of your 8 into your right leg and switch to your right seat bone and come around the bottom of your 8 into your left leg and switch to your left seat bone and cross diagonally through the center of your 8 and repeat until you can do this in both directions smoothly and slowly without ever hitting the edge of the base on the ground. The first few times you do this it is best to have someone hold a jumping bat or a two foot long rod unmoving in front of you so you can pull yourself a little through the difficult transitions in your figure 8’s
11a. From the centered balanced position practice your left lead canter by moving the left seat bone in a slightly forward position and move towards 1:00 o'clock and then back towards 7:00 o'clock in an narrow oval shape until it is smooth and fluid, then try the right lead with your right seat bone slightly forward moving in a narrow oval motion from 11:00 o'clock to 5:00 o'clock until it is fluid and smooth.
12. This practice will use your increased balance and symmetrical core strength to write out the alphabet in cursive, again it is important to visualize the letter or number before writing it. From a balanced position in the center of the saddle write one letter on top of the next, using your body as if it was your hand and the HH was your writing instrument, sit up straight and have some fun being creative with letters, when you have successfully written out the alphabet, try some numbers then write out your name in cursive.
13. This practice will test your core muscle symmetry and control. From a balanced position in the center of the saddle execute a series of geometric shapes using all the core control you can achieve, circles, ovals, triangles, squares, try them individually at first, then layer them on top of each other in patterns using your creativity to compile different combinations to increase your fine motor skills with your core muscles. Try to never touch the edge down on the floor.
14. Swimming practice uses the arms to generate motion while the legs and torso remain free to move from the overhead motion of the arms, the most powerful stroke is the freestyle overhand stroke which when done with the legs up off the platform will turn the HH under you in a side to side motion.
15. To enhance all the various practices, repeat with both hands held out on either side of the body and then over your head then with both hands on the left side and then both hands held on the right side, holding a crop with both hands makes it easier to keep your hands in some of the positions. Adjusting the height so that your feet are above the platform enhances your balance and creates more engagement with your seat and inner thigh adductors.
16. Strengthening Stretches can be done with the assistance of strong person acting as spotter.
From a mounted upright position tilt the HH onto the front edge and extend your arms up and out in front grabbing your spotters upraised hands, when you are secure in the hands of your spotter lift your feet off the platform backwards as if you were trying to fly, hold this position for a minute or so then release one hand and grab your foot and pull it as far forward as is comfortable and hold, reattach your hand to your spotters hand a repeat with the opposite hand and foot.
This stretch opens the hip angle and strengthens the abdominals.
Another strengthening stretch can be done in the back position by tilting the HH onto the back edge, raising your hands high above your head and grabbing your spotters uplifted hands and raising your feet off the platform in front of you, have your spotter move hand support to under the center of your back and hold this position as long as your abdominals will hold you, then come back into your upright position. Some stretches can be done alone if you wrap your feet around the vertical steel post for leverage and safety or use a wall to push against.
17. Practice in a two and three point position is possible by adjusting the height so that your feet are firmly on the platform and you can maintain your position off the back of your HH or with your stirrups near the platform when using your saddle.
If you put a blanket or a rolled up towel under the platform in the front of your HH you can get a little resistance to the forward tilt and keep it at any angle that you think best for your two and three point positions, and also for posting practice.
18. Polo practice is really effective with a short mallet to perfect your stroke and even better with a pitcher or a ball return.
19. Uphill and Downhill practice can be achieved by putting the HH on the center of a piece of 4’x4’plywood inclined by a 2x4 under one end. Please try with a spotter the first time!
20. Seven minutes twice a day will change your life, (a little). Try the above practices with the exercise pad you received with your HH or put on a saddle of your choice with as many pads as you need to imitate a horse you might ride, line up the lowest part of your saddle with the center post and fine tune the position after you try it, adjustments front or back by a half inch make a difference. To check your progress, when you start with your Home Horse weigh yourself using two scales, one for each foot, stand as evenly as possible and have someone else read the scale since looking down throws you off, note the difference in weight from one side of your body to the other. As you progress in your exercises with the HH you will become more symmetrically muscled and you will notice that your asymmetrical weight difference will diminish. When you discover new practices that really work please share them with me and I will post them on the website.
Have a good ride,
Chris chris@homehorse.com
The Home Horse Story
My grandfather Erich brought his skills as a Horseman to the United States and established a training and show stable modeled on what he had known in Europe. He was instrumental in the organization of the first US Grand Prix jumping competition held at the Chagrin Polo Fields in Ohio.
Together with my grandmother Eleanor, they raised three daughters well schooled in horsemanship and competition. The eldest daughter, my mother Leonore and my father Paul established the Hudson Equestrian Center / Bochum Farms six decades ago continuing the tradition of producing top Horses and Riders for Hunter/ Jumper competitions.
As children, my siblings and I were taught to ride well before we could walk and talk, Pony Club, Fox Hunting, Polo, we rode in competitions of all types, Equitation, Jumper and Combined Training.
I created the Home Horse to assist my own children in their development of a deep and secure balanced seat. Something to practice on at home in between their riding lessons and competitions. My career as an artist gave me insight into materials and processes and allowed me to experiment with effective designs to help them keep their competitive edge. I began using the Home Horse myself once the design got large enough for an adult and quickly realized that this was more than an equestrian trainer, it's a beautiful balance and core workout platform that everybody could enjoy.
The Home Horse is a perfect synthesis of form and function and is revolutionizing the way we exercise at Home and Work.
Have a good ride.
-Christopher Cosma